Learn how to use Prep for taxes to review, adjust, and export your clients' QuickBooks Online accounts for tax season.
Prep for taxes for QuickBooks Online Accountant lets you review a client’s accounts from a single dashboard.
- After your review, QuickBooks automatically assigns the account to the proper lines on tax forms.
- You can export the mapped tax forms to ProConnect Tax (or as a CSV) and get a headstart on your client’s tax return.
Here’s how to use Prep for taxes to get your clients ready for tax season.
Table of contents:
Step 1: Open Prep for taxes
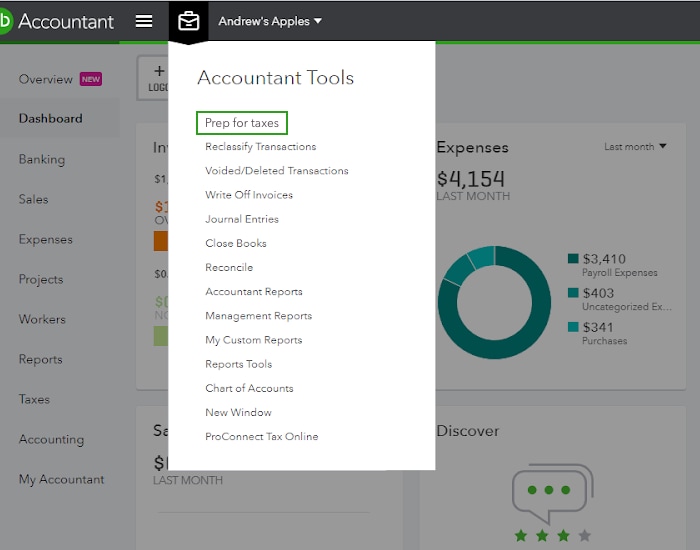
There are two ways to open Prep for taxes:
- If you’re working in a specific client’s QuickBooks Online account, go to Accountant Tools and select Prep for taxes.
- If you're in ProConnect Tax:
- Select
 from the left-hand navigation.
 - Select Go to QuickBooks from at the top of the screen and from the drop-down menu, select the client.
- After the client opens, go to Account Tools and select Prep for taxes.
- Select
Each client has a dedicated Prep for taxes page.


Step 2: Review your client’s accounts
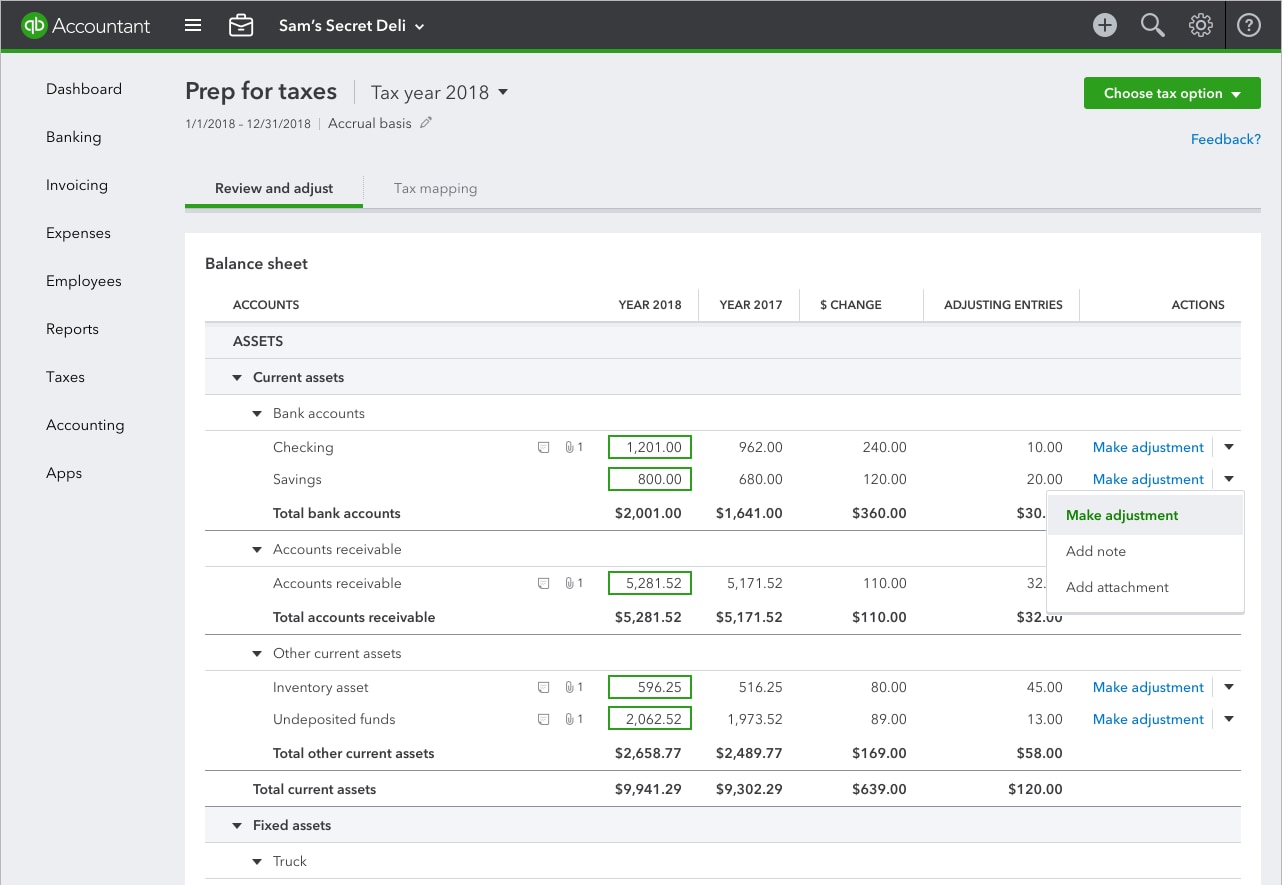
Start your work in the Review and adjust tab. Your client’s annual Balance Sheet and Profit and Loss Reports sit side-by-side for quick comparisons. You’ll also see last year’s totals, account differences, and any adjusting entries you’ve made in Prep for taxes.
To dive in to a specific account and get a complete list of transactions:
- Expand the list of accounts.
- Select the account total under the column for the current year.
- Review the transactions in the account.
Step 3: Make adjusting entries as needed
Prep for taxes has everything you’ll need to make adjusting journal entries.
- Among many uses, use them to adjust transaction totals without changing the original record. You can think of them as amendments.
To make an adjusting entry:
- Expand the list of accounts.
- Find the account you wish adjust.
- Select Make adjustment from the Actions column.
Keep track of your work
You can attach notes and source documents to each account.
- Select the arrow drop-down from the Actions column.
- Select Add attachment or Add note.
Clickable icons will appear next to each account for easy reference.

Change the accounting method view
You can switch between accounting method views to make your review a bit easier. It won’t affect your client’s settings or view in QuickBooks Online.
- Select the pencil icon next to the accounting method.
- Toggle between Cash and Accrual.
Review the Change List
The Change List at the top of the Review and adjust tab acts as an audit log. Every time someone makes a change in Prep for taxes, it’s logged on the list.
- For these changes to go through, be sure to select Accept Changes.
Step 4: Map accounts to tax forms
After reviewing your client’s accounts, you’ll be able to assign them to specific lines on tax forms.
- Go to the Tax Mapping tab.
- Select the appropriate tax form for your client.
- It is important to note that edits don’t carry over if you change forms. If you change forms in the middle of mapping accounts, you’ll need to make edits again on the new form.
- Prep for taxes automatically assigns most accounts to tax lines.
- Accounts that still need to be assigned appear in the “We found unmapped accounts” section.
- Select Assign tax line and move them to the correct tax line.
- Accounts that still need to be assigned appear in the “We found unmapped accounts” section.
Review each tax line individually for accuracy. If you need to reassign an account to a different tax line:
- Find the account on the tax form.
- Select the pencil icon to edit.
- Choose the correct tax line.
Step 5: Export the mapped tax forms
When you’re ready to export, select the Choose tax option button and follow one of the two paths:
- If you started a return in ProConnect Tax before starting work in Prep for taxes, select Update existing return.
- Keep in mind, this will replace any existing information you’ve entered into ProConnect Tax.
- If you finished work in Prep for taxes before starting a return in ProConnect Tax, select Create new return.
- This creates a fresh return in ProConnect Tax.
ProConnect will fill in form fields using your mapped tax forms. Check that everything exported correctly and complete your client’s return in ProConnect.
Download a CSV for other tax preparation software
Although the downloadable CSV's formatting matches Lacerte tax preparation software, you can edit the CSV to work for other programs.
- Select the Tax options button.
- Select Export to CSV.
