Quick Summary
- Intuit Link is a cloud-based platform that facilitates collaboration and communication between accountants and their clients.
- It allows accountants to securely share and request financial documents, exchange messages, and monitor the status of work in progress.
- If you're new to Intuit Link, see here.
Customize your Link settings and organizer templates
- Select Intuit Link on the left side of your screen.
- Select Settings at the top right.
- Click the pencil button next to any item you wish to edit.
- Make your changes, then select Save.
- Scroll down to the Organizer templates section.
- If you used the PDF checklist before it was a part of Link, we saved a copy of your old checklist here for reference.
- Click Create a new template to start an organizer template from scratch - or select Duplicate on a Quickstart template to modify it.
- Select Edit to make changes to any portion of the organizer as needed.
- When you're satisfied with your settings, select Done.
Invite your clients to Link
- Select Intuit Link on the left side of your screen.
- Select Create request.
- Select the client you wish invite.
- Select Continue.
- You may be prompted to enter the client's email address. If so, enter the email, then press Save.
- Your default organizer will appear. Select Edit to customize any item for this client, or Preview to check what will be sent.
- Once you're satisfied with the organizer, select Continue.
- Edit the invitation email for this client if desired.
- By default, your client will be sent reminders every 7 days for a total of 5 durations, or until the client marks the request as done. If you do not want to send your client reminders, unmark the Send a reminder every 7 days until the client marks as done sharing tax information checkbox.
- Reminders will stop if:
- a request is deleted,
- a request is marked as done by the client, (or)
- the maximum numbers of reminders (5) has been sent.
- Reminders will stop if:
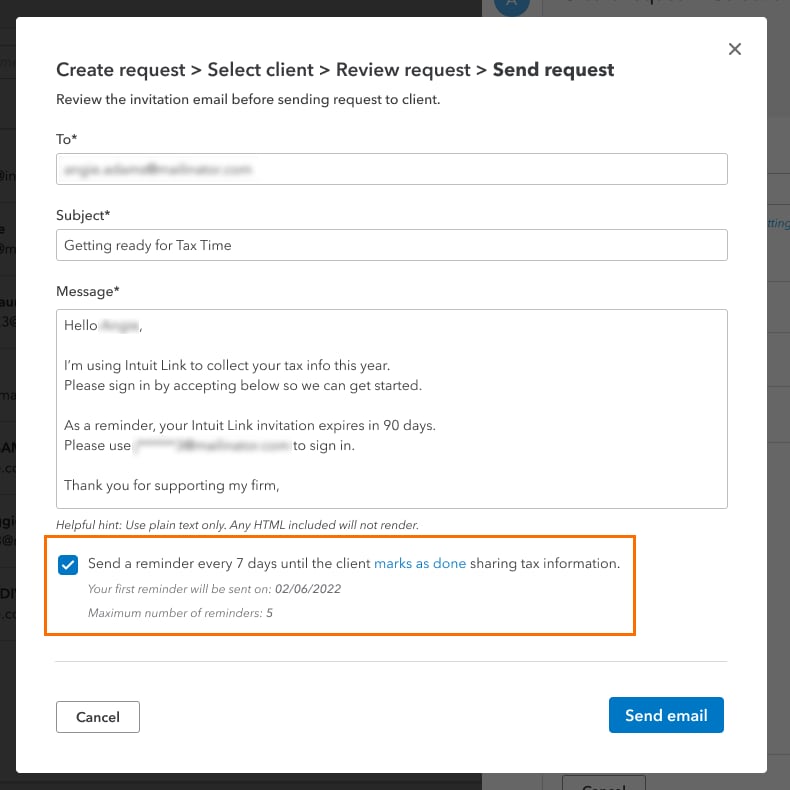
- Once done and ready to invite the client, select Send email.
For information on how the taxpayer uses Intuit Link see How do taxpayers use Intuit Link for ProConnect Tax?
