![]() As per the Abolish Racist Language initiative, you may see a different word besides primary in prior-year programs and customer support tools. For more information, see here.
As per the Abolish Racist Language initiative, you may see a different word besides primary in prior-year programs and customer support tools. For more information, see here.
Your Intuit Account now allows you to manage your data safely and easily. You can access it here or from within your ProConnect offerings and services.
For other products, select from the links below:
Where do I go to access my data?
Lacerte or ProSeries
- Login to My Account.
- On the left hand side, select Account.
- On the right hand side, under Settings, select Edit.
- On the Account Settings screen, select Data & Privacy on the left hand side.
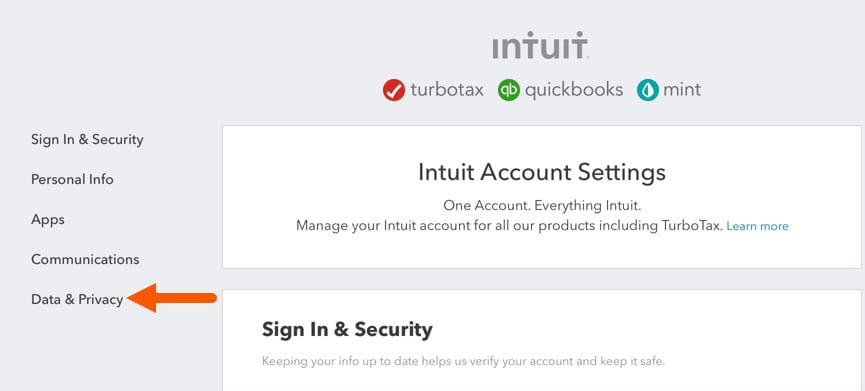
- From here, depending on the action you want to take, you can Download or Delete your data.
ProConnect Tax Online
- Log in to ProConnect Tax Online.
- Click on Settings in the lower-left region of the screen.
- Select Manage Your Account.
- On the Account Settings screen, select Data & Privacy on the left hand side.
- From here, depending on the action you want to take, you can Download or Delete your data.
